VMEG tutorial: from upload to dubbed export in 6 steps
This VMEG tutorial takes you from a fresh account to a translated, voice-cloned video in about 10 minutes of hands-on time. The workflow is linear — upload, transcript check, translate, export — and the two decisions that actually affect your bill are which languages you select and whether lip sync is on. Billing facts referenced below come from the official FAQ. How to use VMEG efficiently, step by step:
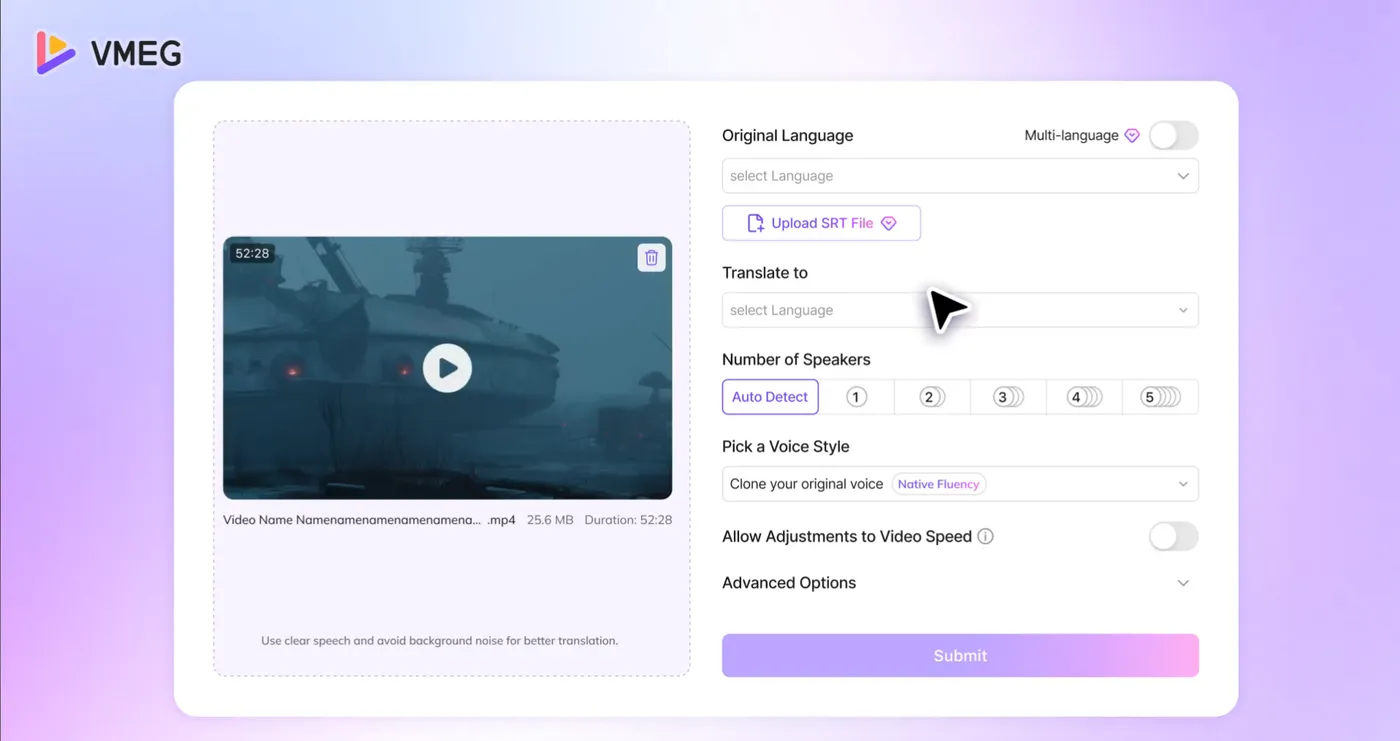
- 1
Create an account and claim trial credits
Sign up on the web app — no card required. Your account starts with a small credit grant and the dashboard opens straight into the project view. One tip before uploading anything: know your credit budget, because 60 credits equals one standard minute.
- 2
Upload your video
Drag in an MP4/MOV or paste a link. Keep the first test under a minute of runtime with one clear speaker and minimal background music — that isolates voice-clone quality from mixing issues.
- 3
Pick target languages and options
Choose one language for the first run. Leave lip sync off initially (it doubles the burn to 120 credits per minute); you can re-render with it later on the same project without re-uploading.
- 4
Review the transcript before dubbing
The editor shows the source transcript first. Fix product names and jargon here — a corrected transcript costs nothing, while re-dubbing after the fact spends time. Multi-speaker clips: verify each line landed on the right speaker.
- 5
Generate, preview and fine-tune
Run the translation and preview the dubbed track alongside subtitles. Adjust per-line voices, pacing or subtitle timing in place — purchased videos re-edit at no extra credit cost, so iterate freely.
- 6
Export and publish
Export with subtitles burned in or as a separate SRT file, up to 4K on the Studio plan. Files also stay in cloud storage (500GB on Studio) for the next revision round.
After the first export
Once your test clip passes, budget the real project before committing: thecredits calculator converts runtime × languages into credits and dollars, and thepricing guide explains which Studio tier those numbers point to. Batch uploads of a series into one session — the VMEG video translator keeps voice assignments consistent across episodes when processed together. And keep the source project files — revisions months later reuse the same transcript corrections at zero extra cost.
Specialized guides
What decides clone quality, in order.
Lip sync cost-benefitWhen the +60 credits/min pays off.
Clips to VideosFootage folder → publishable cut.
AI slideshow makerStills in, narrated multi-language video out.
No credit card · ~10 trial credits · web-based, nothing to install